Iron-on backgrounds, Take 2
I recently posted about my first, failed attempt at using iron-on transfers to apply a background to the surface of an embroidered disc before embroidering an animated sequence on top.
Today I read the instructions properly and tried again.
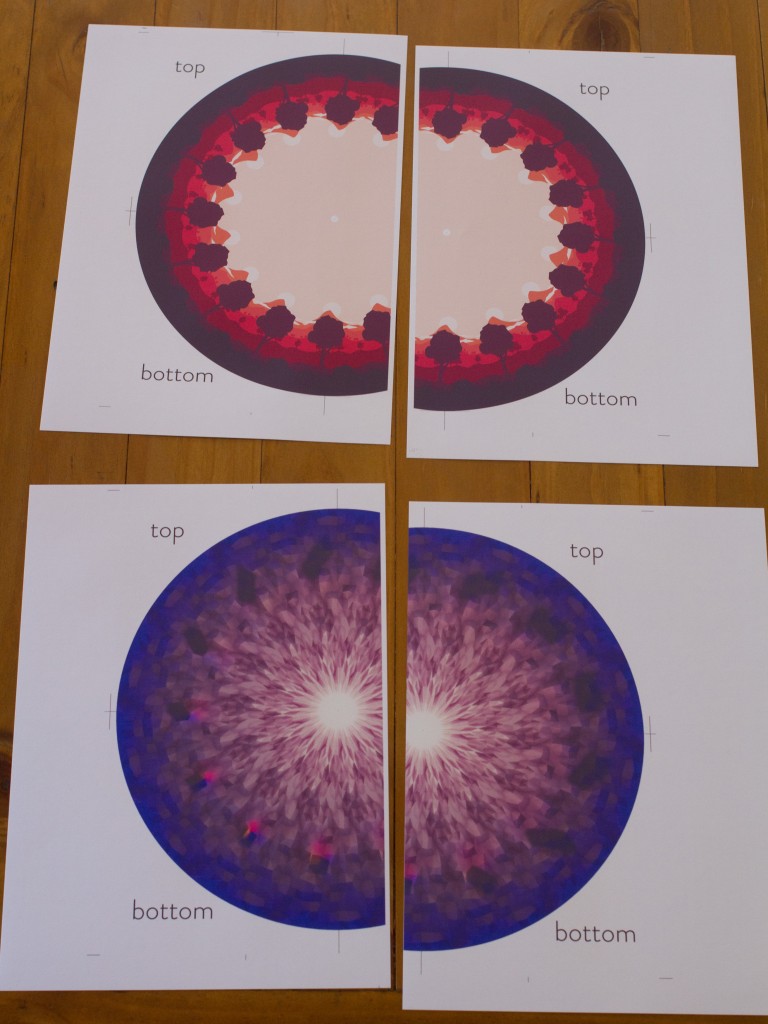
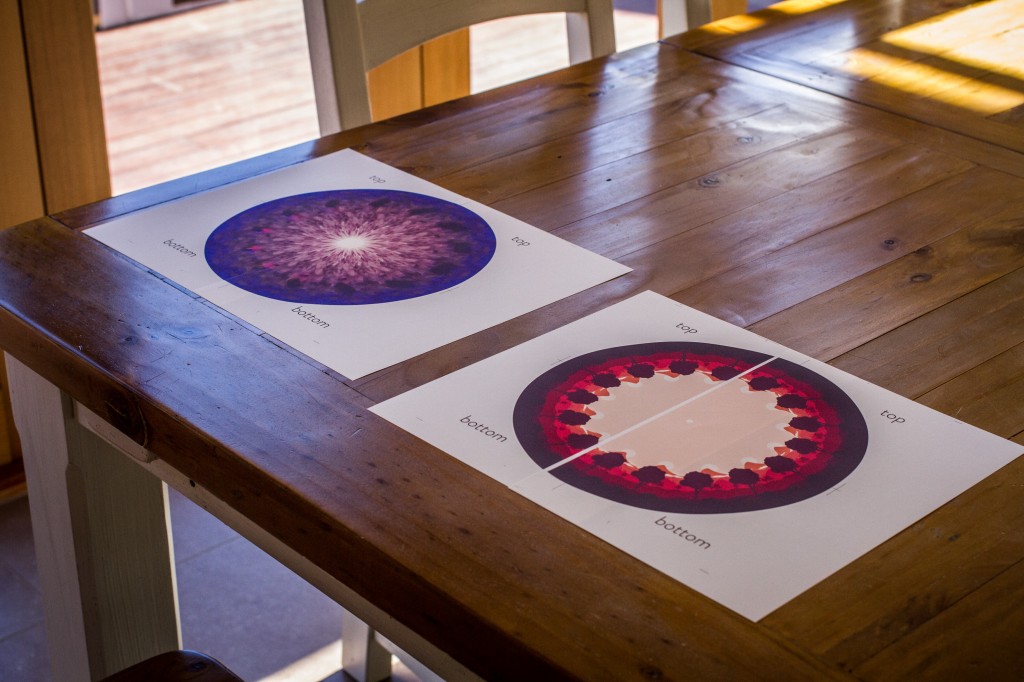
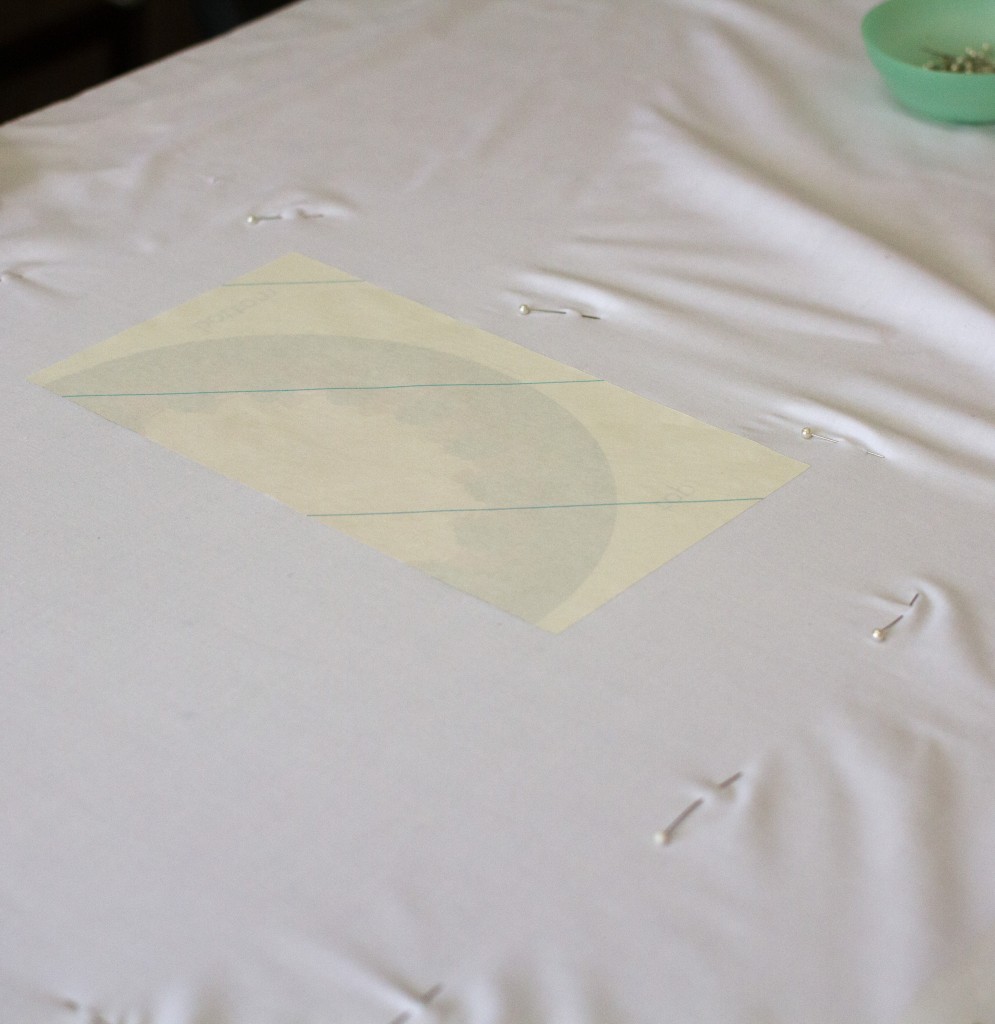
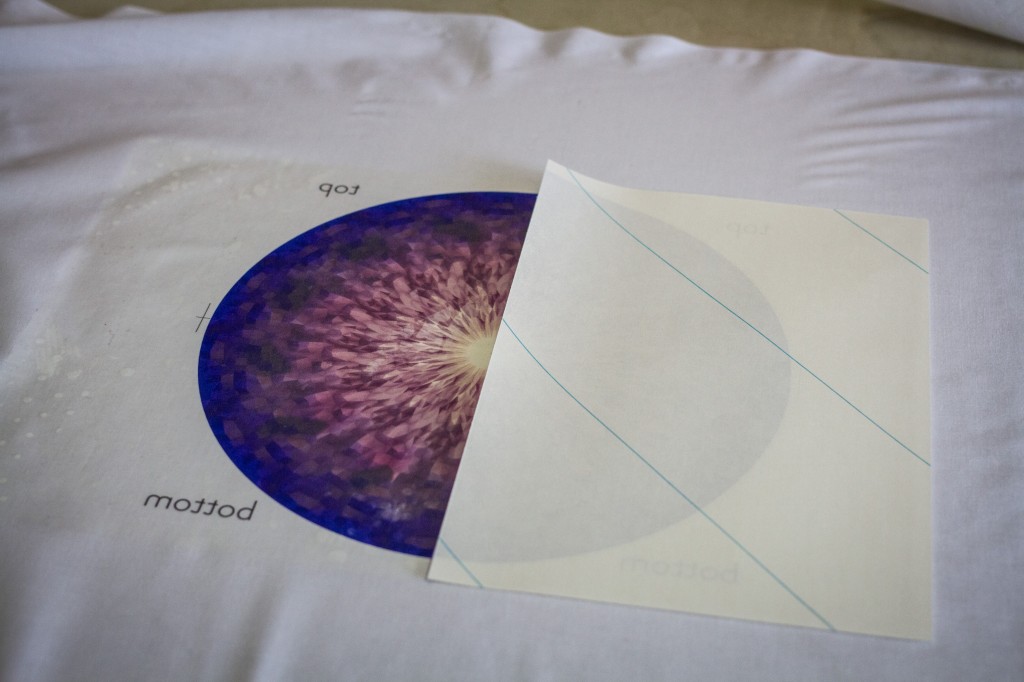
I also added more marks and hints for registration, and as you can see I also decided to revisit the first designI did with a animated background.
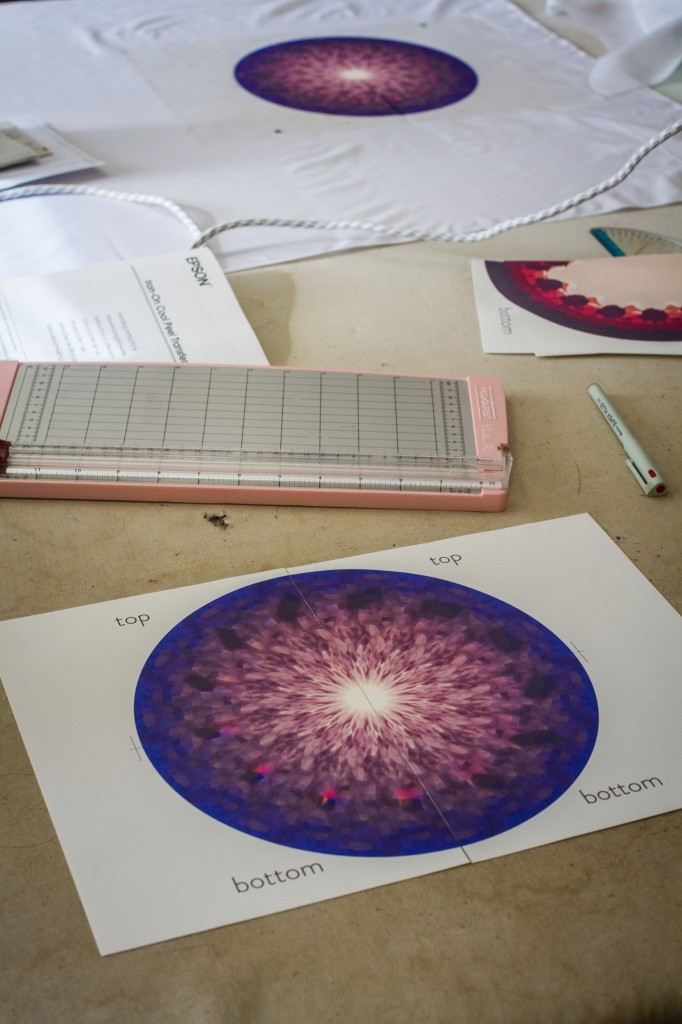
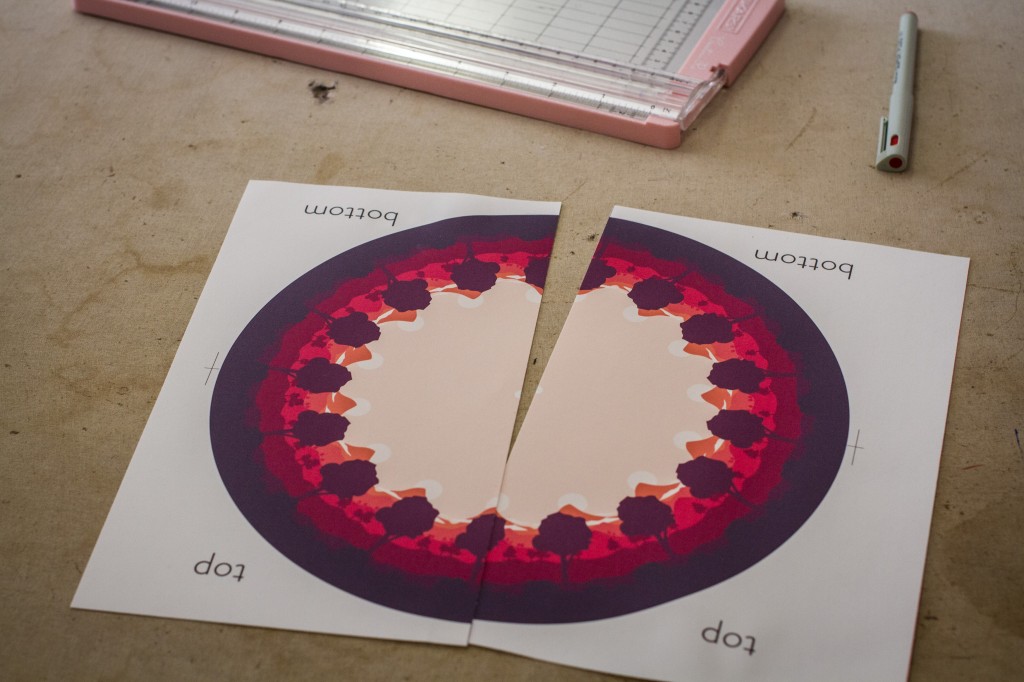
The first step was to use my new registration marks to perfectly dissect the disc down the middle. This was in light of my test in which the overlapping transfer resulted in a dark and murky line.
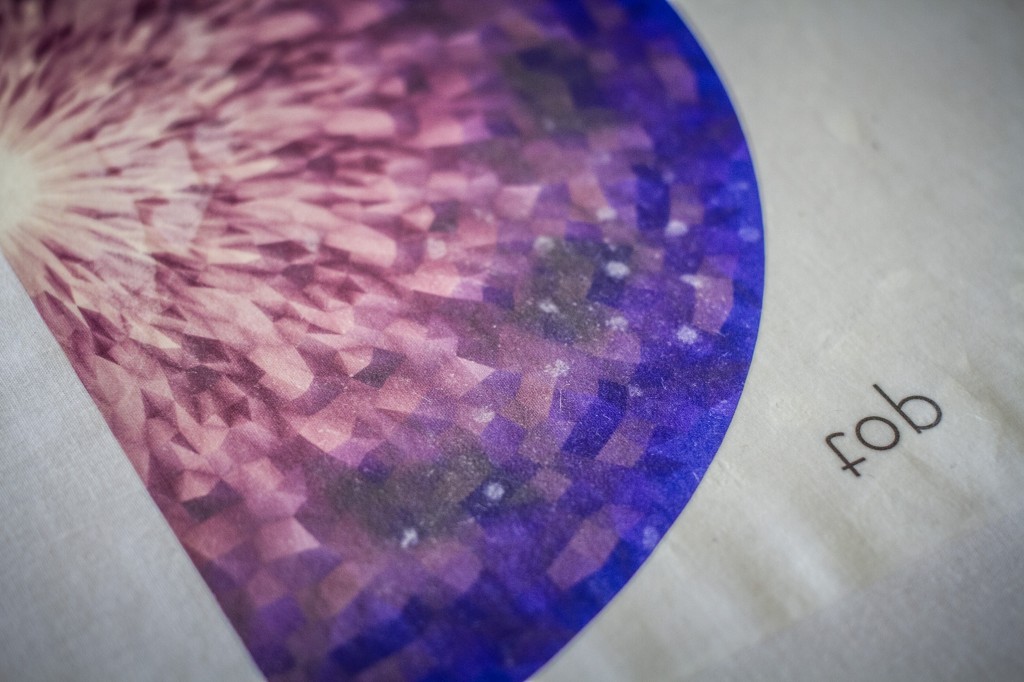
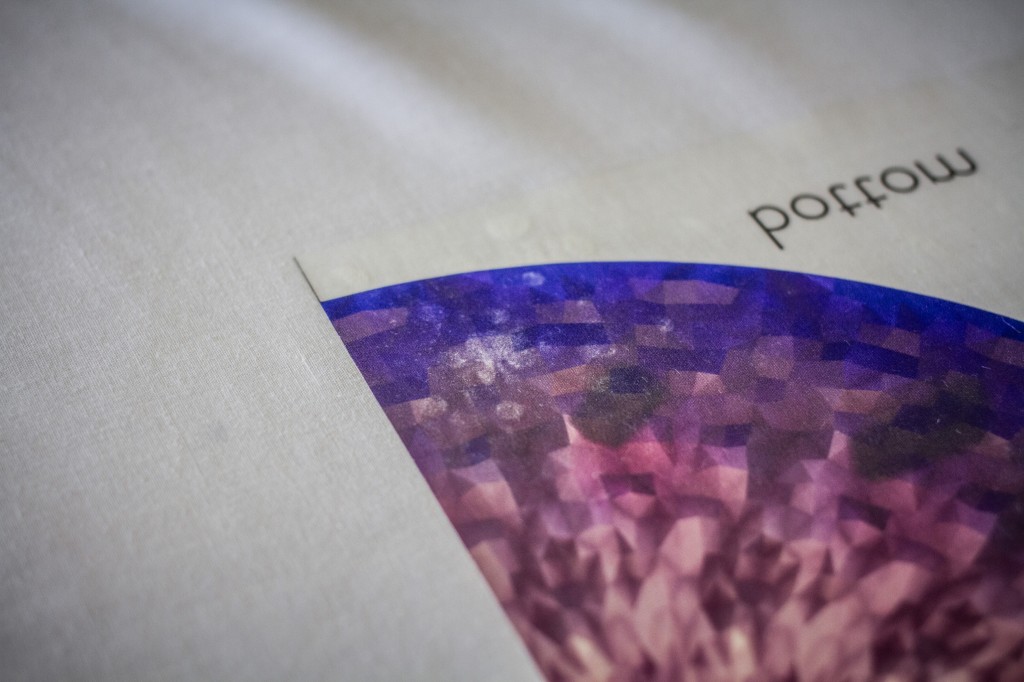
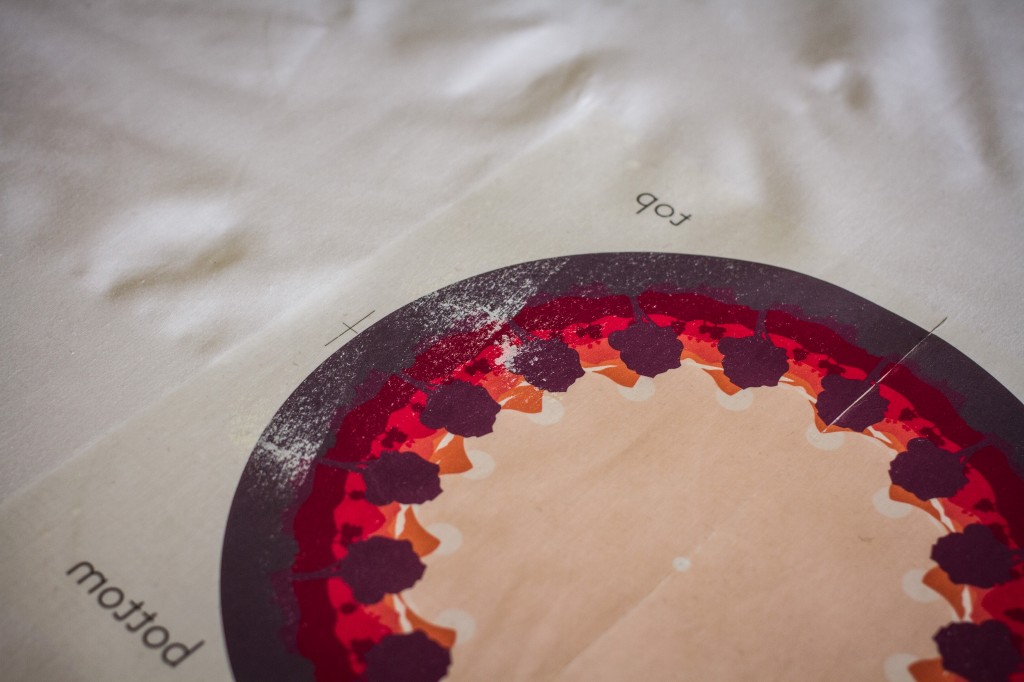
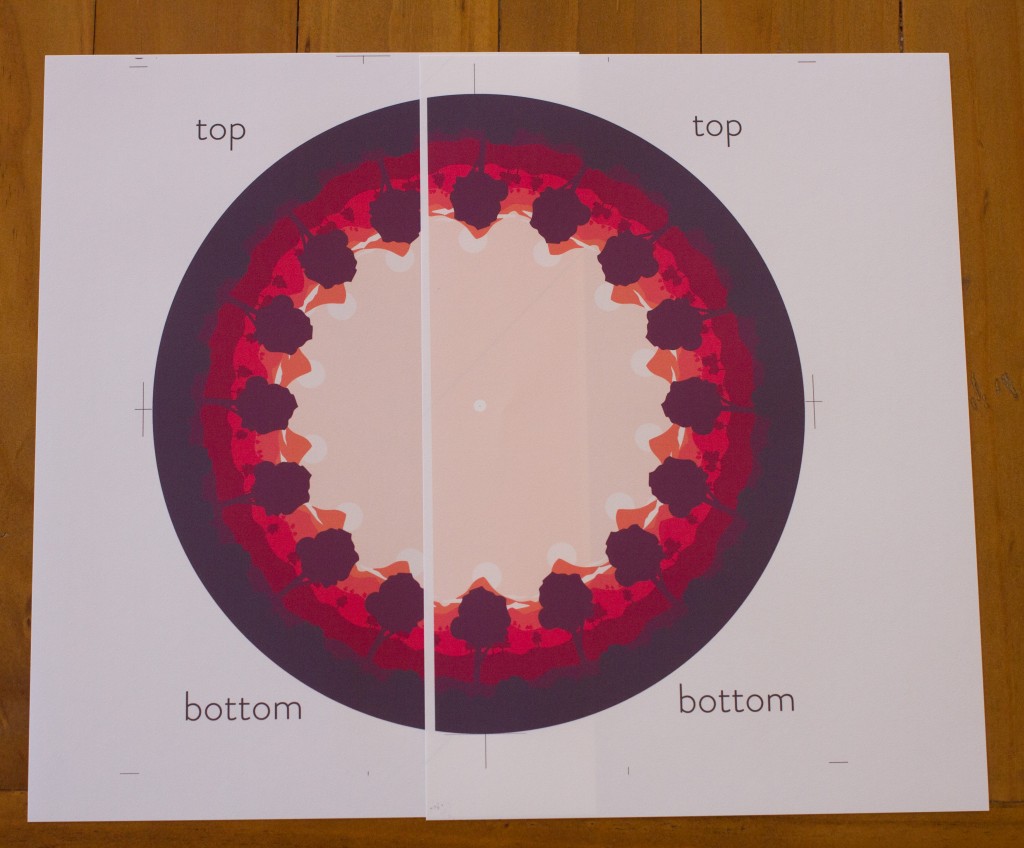
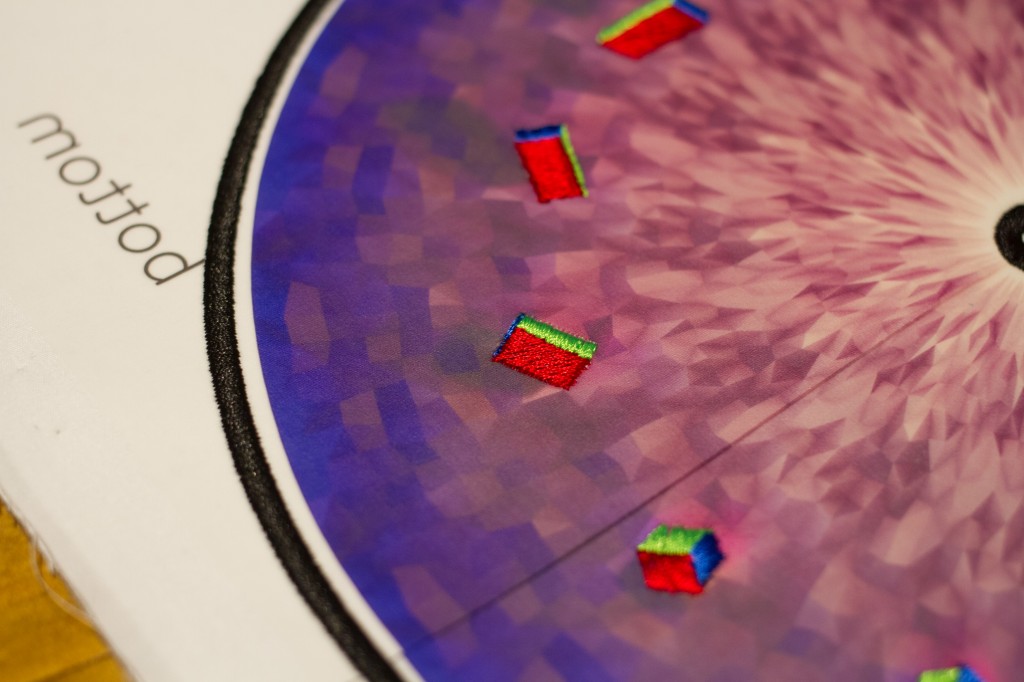
I completely forgot about the text I has recently added which transferred in reverse. This doesn’t really matter though, as the design itself was the correct orientation.
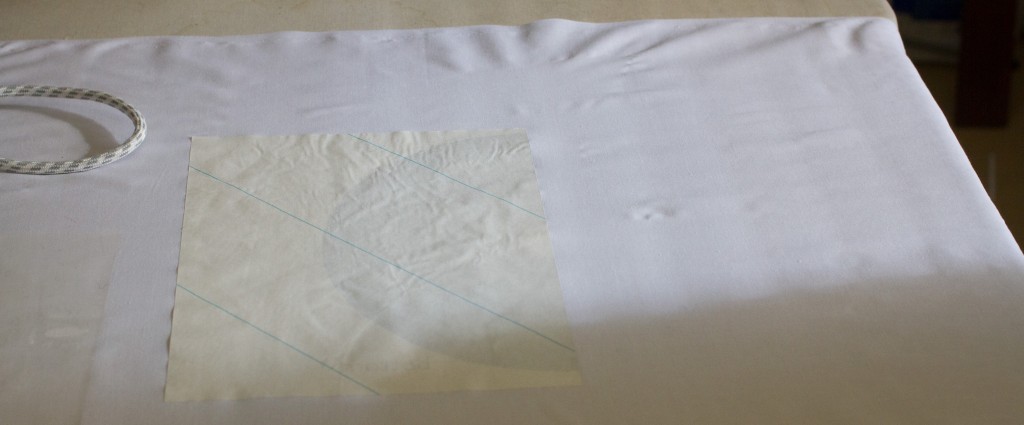
I also encountered another problem which I didn’t notice in my test run. After transferring the first image and letting the fabric cool, the fabric and print shrunk slightly. This meant that when it was time to apply the second transfer, they no longer matched each other. The only way around this was to stretch the fabric slightly and pin it in place.
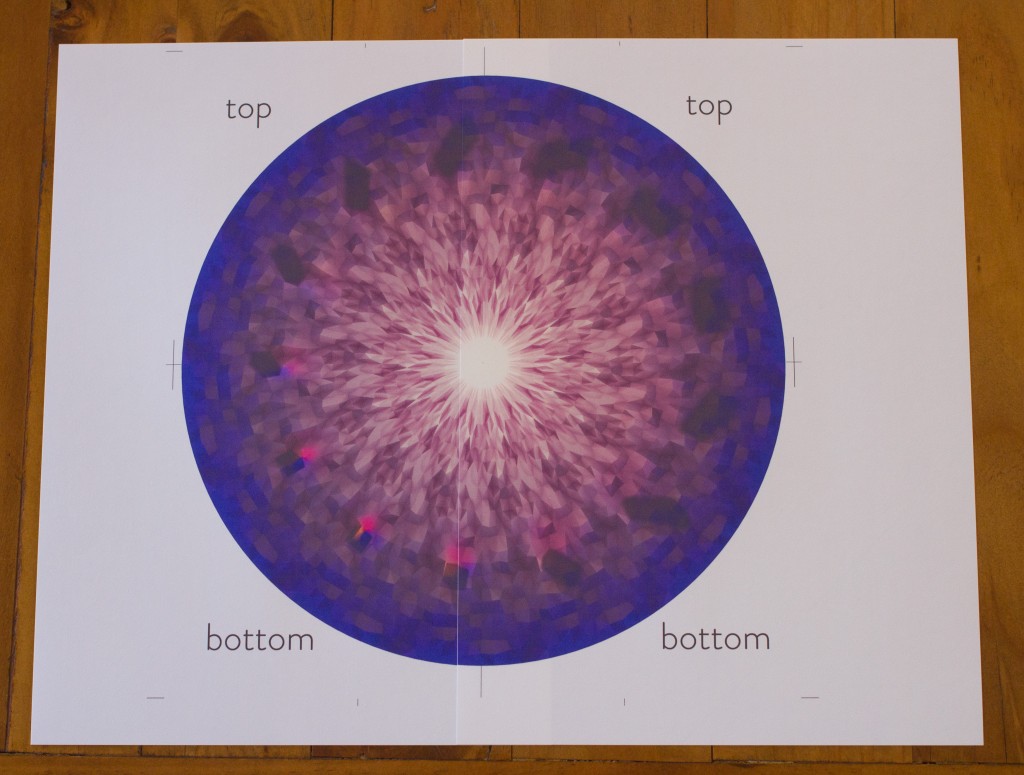
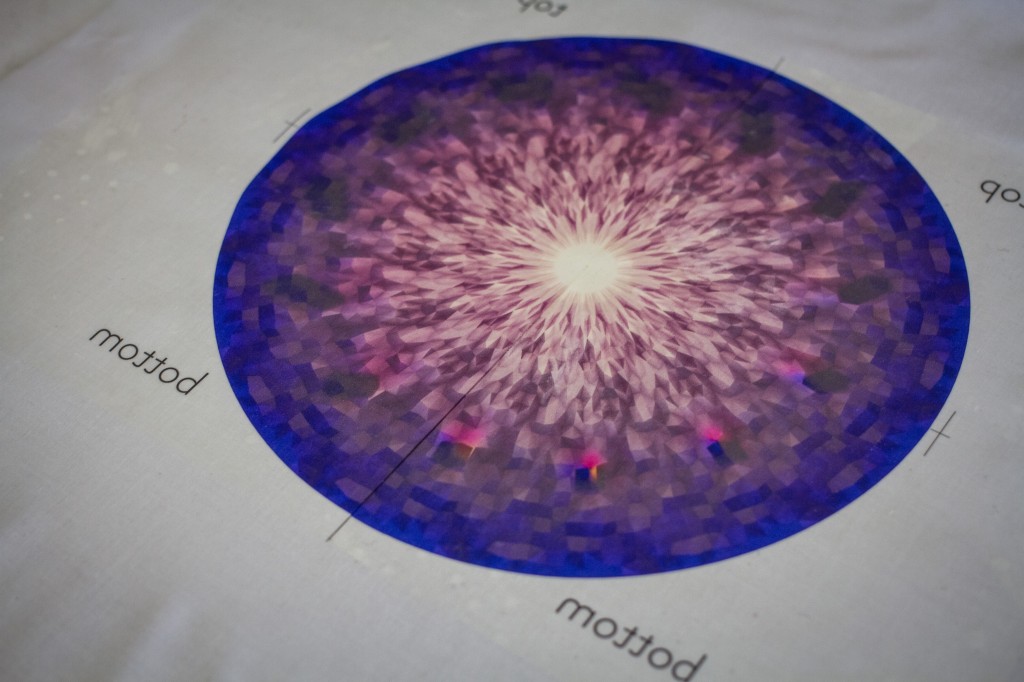
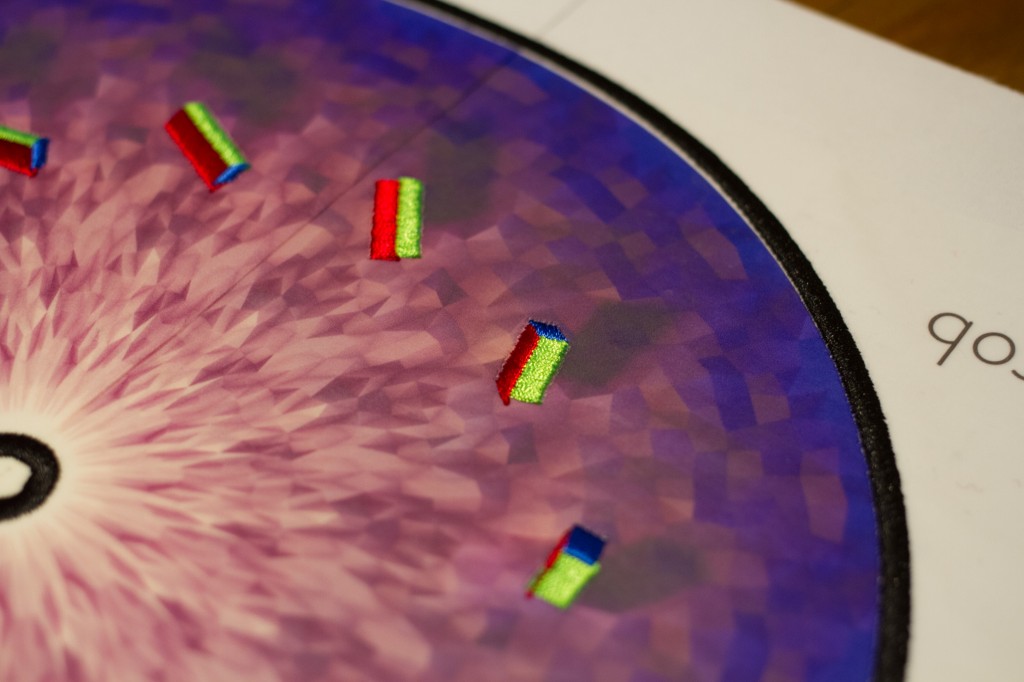
As you can see, after applying the second transfer there was still a slight overlap right in the centre.
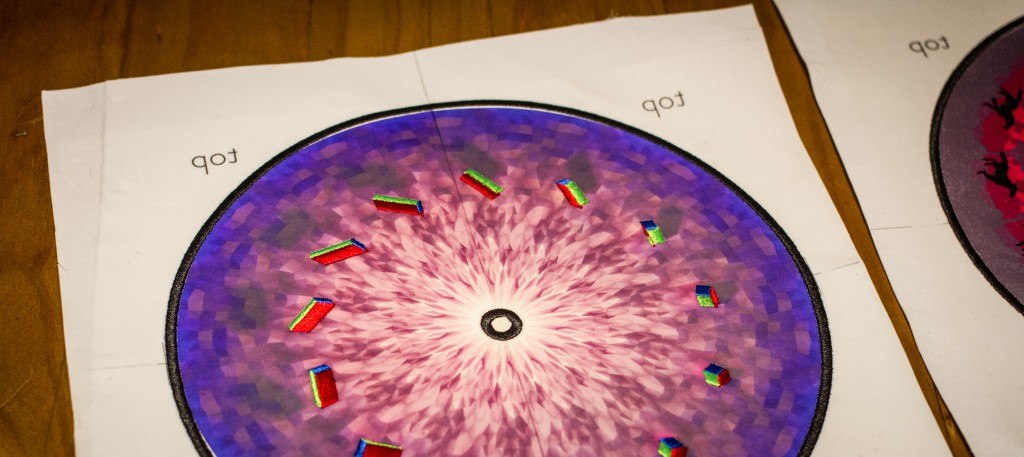
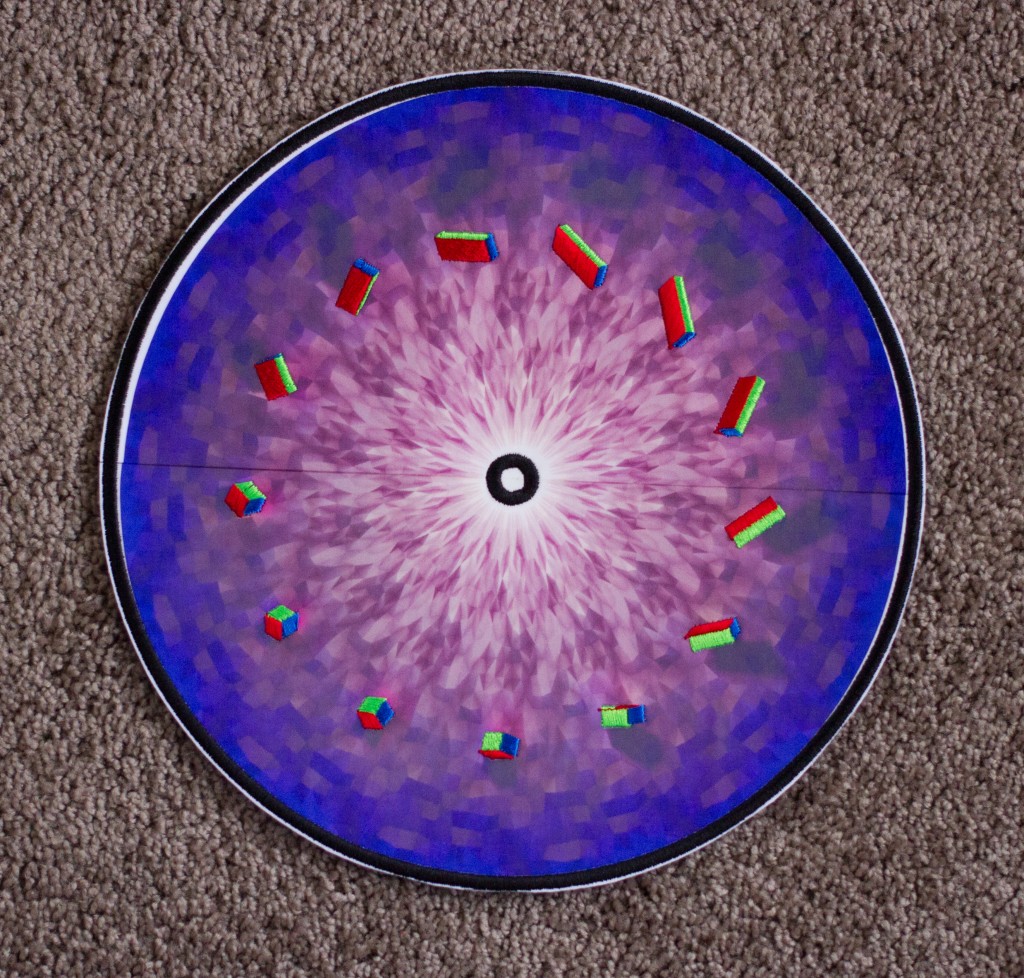
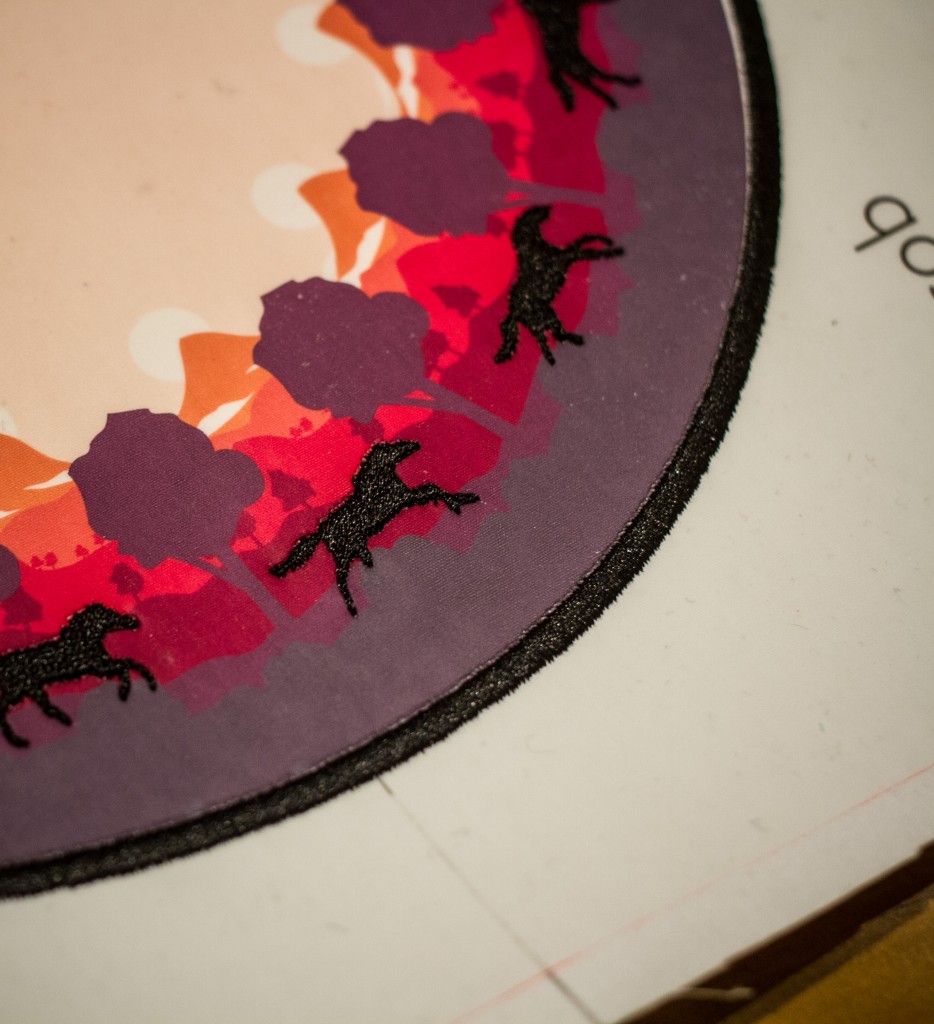
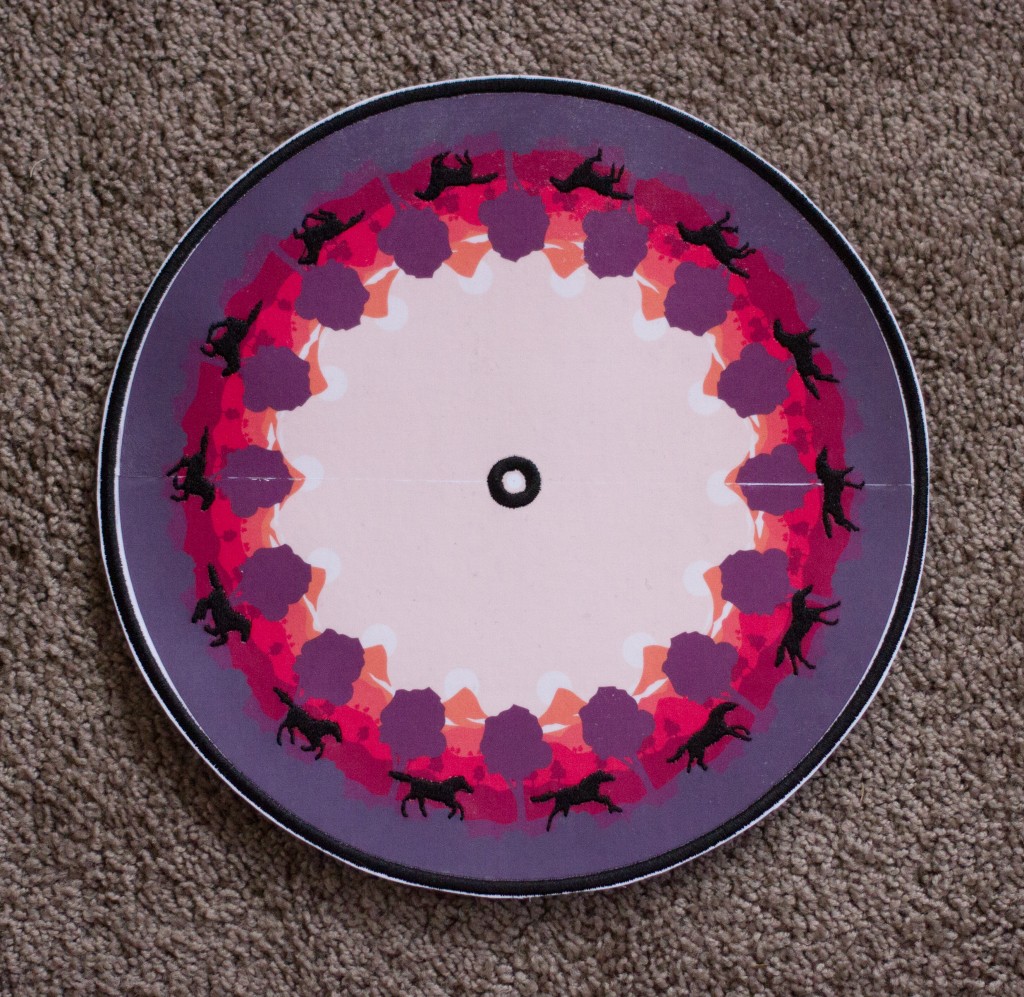
Despite all the aforementioned issues, I was actually quite happy with the embroidery. I managed to register it really well so that the cubes corresponded with their respective shadows. Unfortunately the stretching of the fabric resulted in a skewed circle, and the surrounding satin stitch didn’t match exactly to the print.